Schedule Posts
Set the date and time for each automated post.
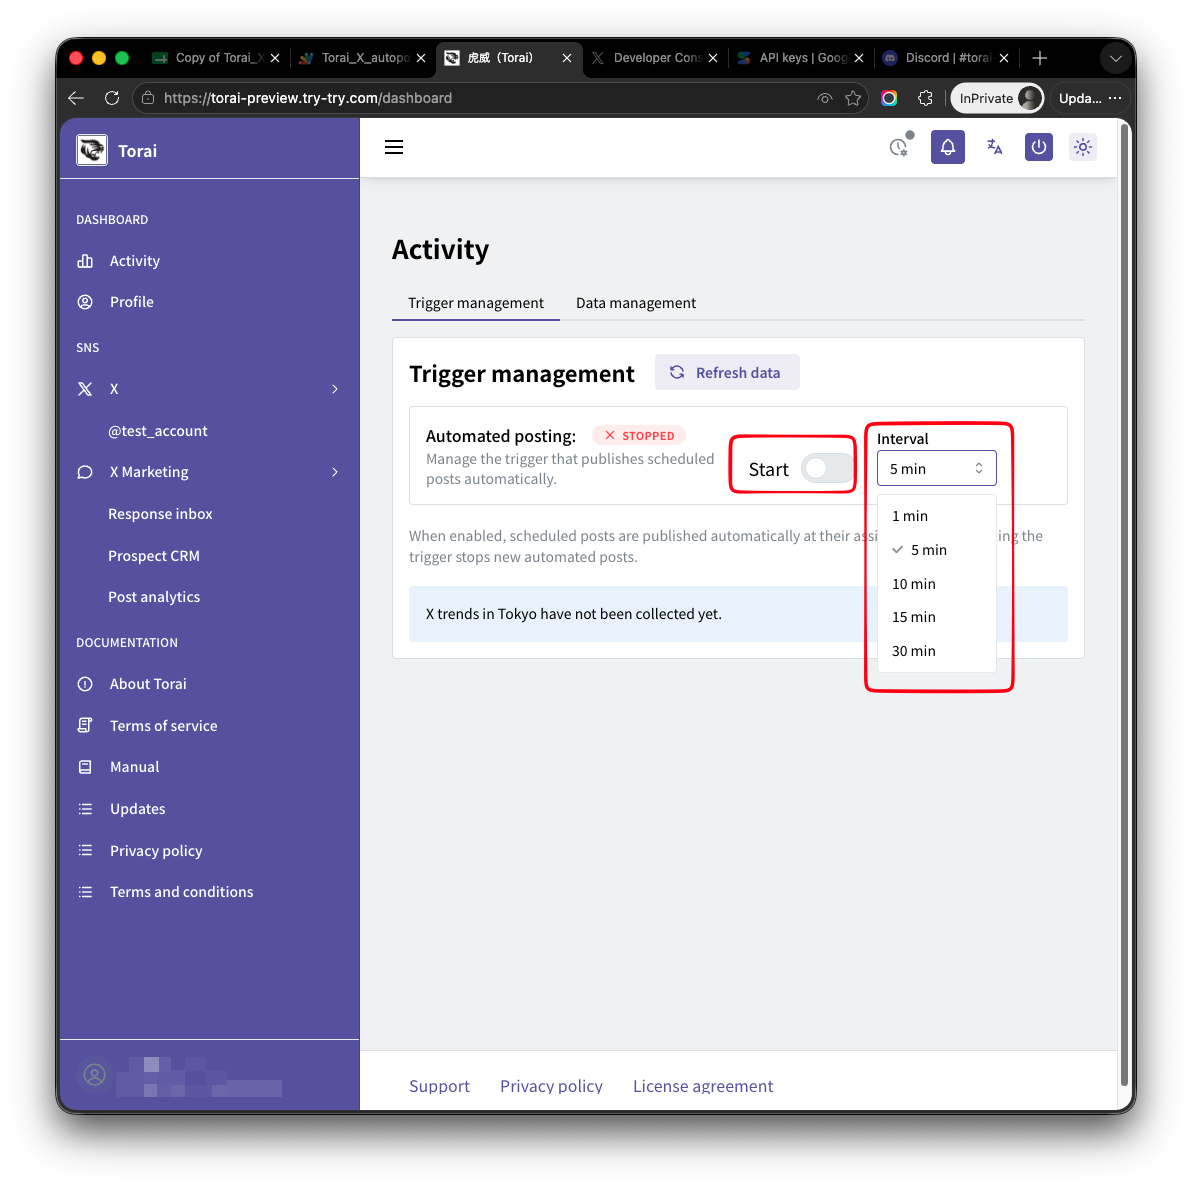
Torai assigns a scheduled time to each post and publishes it using a time-driven Google Apps Script trigger.
How scheduling works
Google Apps Script starts at the interval you select.
For example:
- Set the trigger to run every five minutes
- Apps Script starts every five minutes
- It checks unpublished data whose scheduled time has passed
- It publishes eligible posts to X
- It moves them to the published-post data
A post may be published a few minutes after the exact scheduled time, depending on the trigger interval.
1. Open the post list
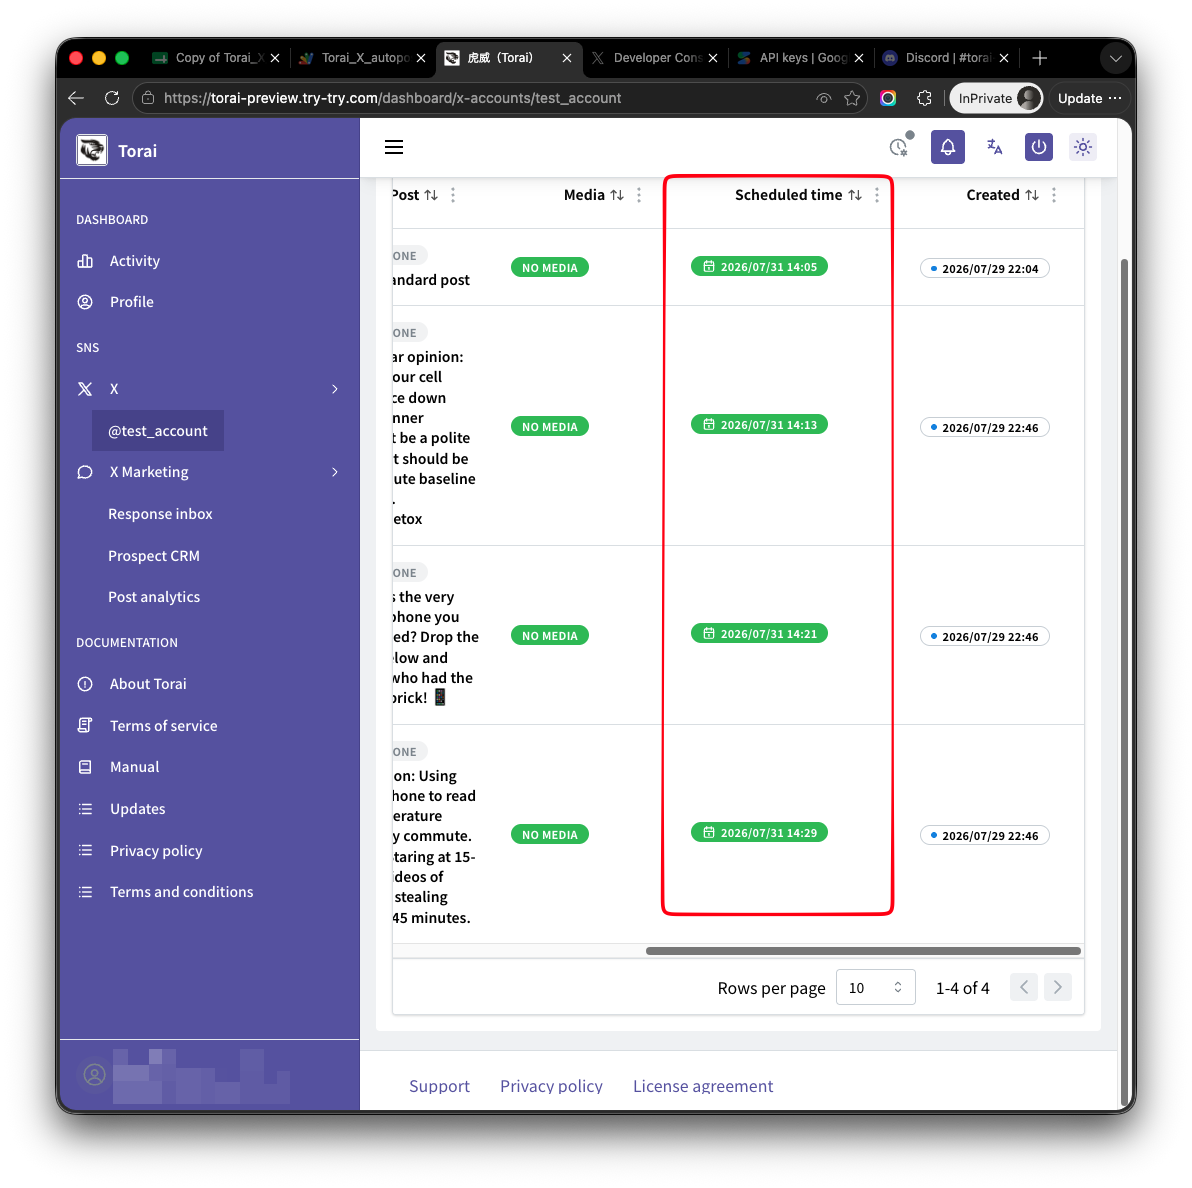
Select the destination X account and open its post list.
2. Schedule one post
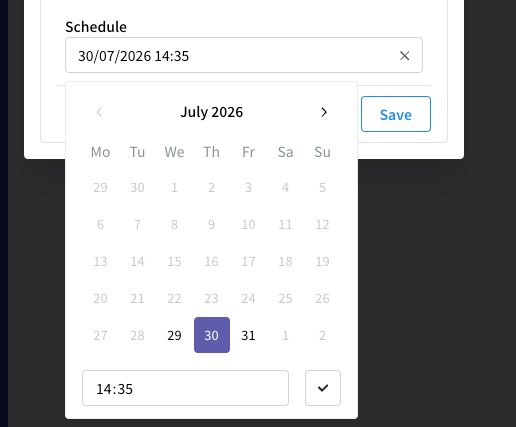
Open the post list for the X account and click the edit button on the left of the post you want to schedule.
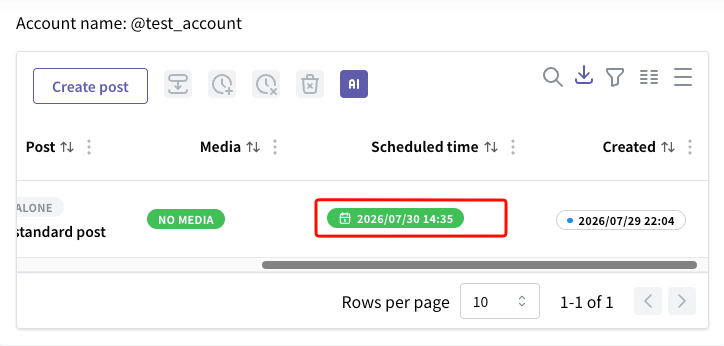
At the bottom of the displayed post, click the scheduling field. Set the date and time in the calendar and time fields.
After saving, the scheduled date and time appear in the post list.
3. Schedule multiple posts in bulk
Use bulk scheduling to assign times to several posts at once.
Turn on the checkboxes for the posts you want to schedule.
- Select the posts to schedule.
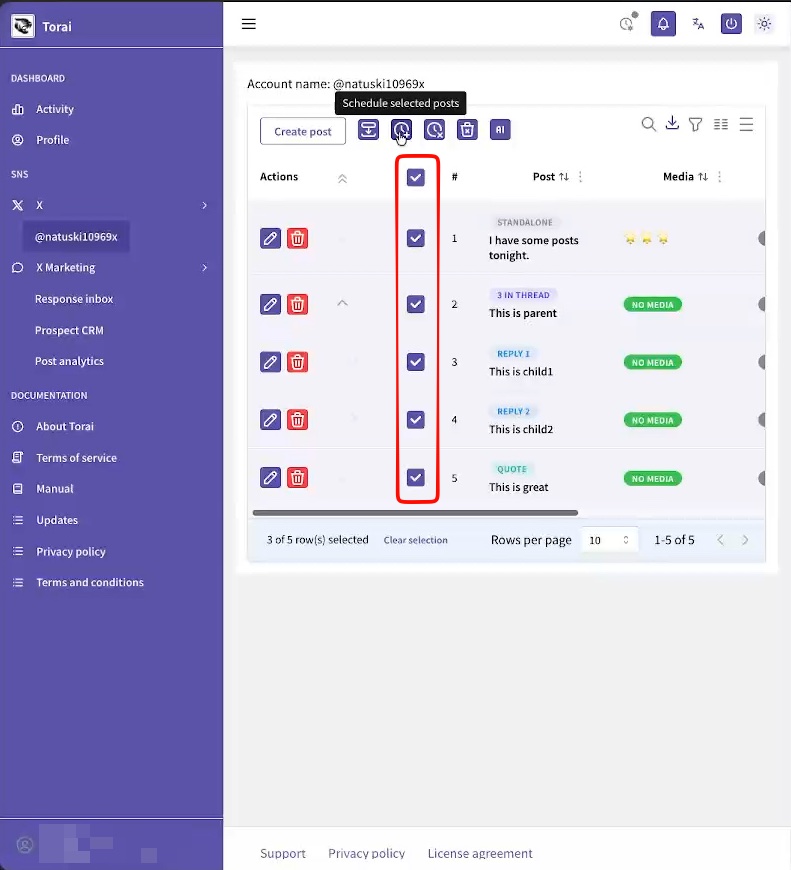
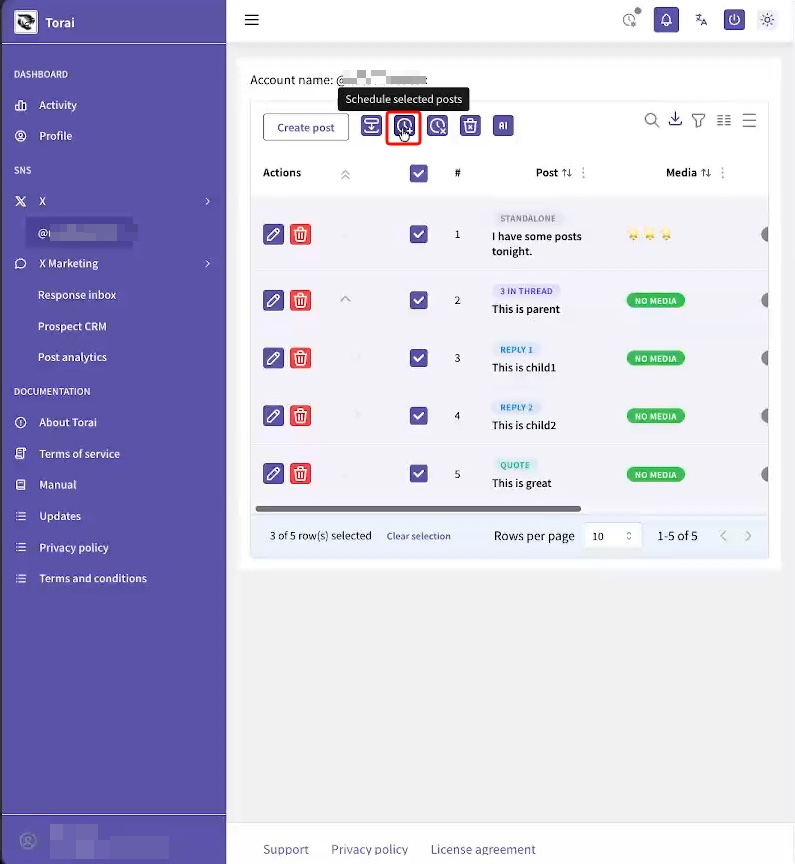
- Click the bulk publication-time button.
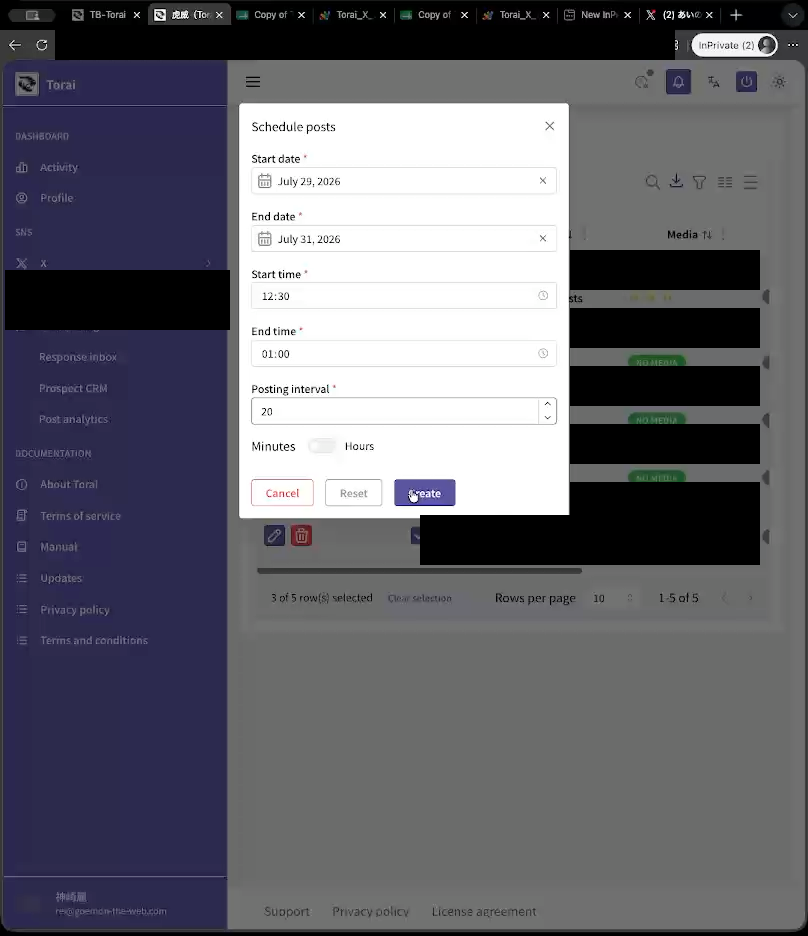
- Enter the start date, end date, start time, end time, and interval, then click Create.
- The publication times are assigned.
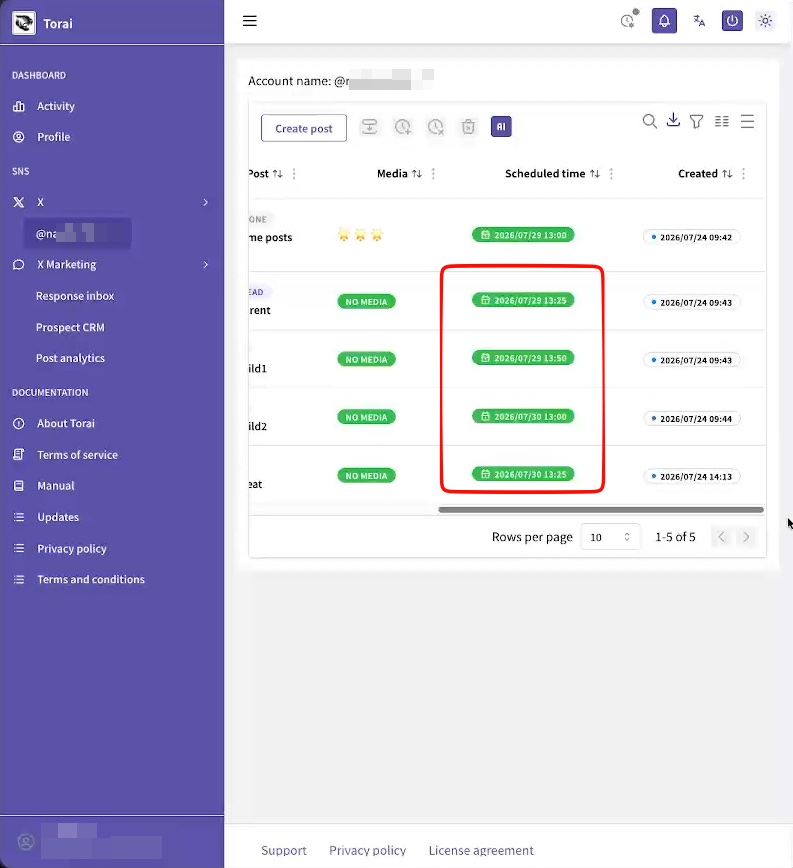
For example, enter:
- Start date: July 2, 2026
- End date: July 3, 2026
- Start time: 10:00
- End time: 12:00
- Interval: 30 minutes
The schedule becomes:
- Post 1: July 2, 2026 at 10:00
- Post 2: July 2, 2026 at 10:30
- Post 3: July 2, 2026 at 11:00
- Post 4: July 2, 2026 at 11:30
- Post 5: July 2, 2026 at 12:00
- Post 6: July 3, 2026 at 10:00
- Post 7: July 3, 2026 at 10:30
- Post 8: July 3, 2026 at 11:00
- Post 9: July 3, 2026 at 11:30
- Post 10: July 3, 2026 at 12:00
If you selected fewer posts, scheduling stops when all selected posts have a time.
Review the start date and time, interval, and selected posts before applying the schedule.
Bulk scheduling is convenient but can cause a large number of unintended posts. Always check the number of selected posts before applying it.
4. Choose a posting interval
Choose an interval based on your account strategy and X API usage.
Scheduling many posts in a short period can:
- Look unnatural to followers
- Reach X limits
- Cause X API usage to rise sharply
- Increase pay-per-use charges
5. Review the schedule
Before starting automated posting, check:
- Destination account
- Post text
- Media
- Scheduled date and time
- Number of posts
- Order of posts in each thread
6. Start the trigger
After scheduling, open Activity > Trigger Management and start the trigger.
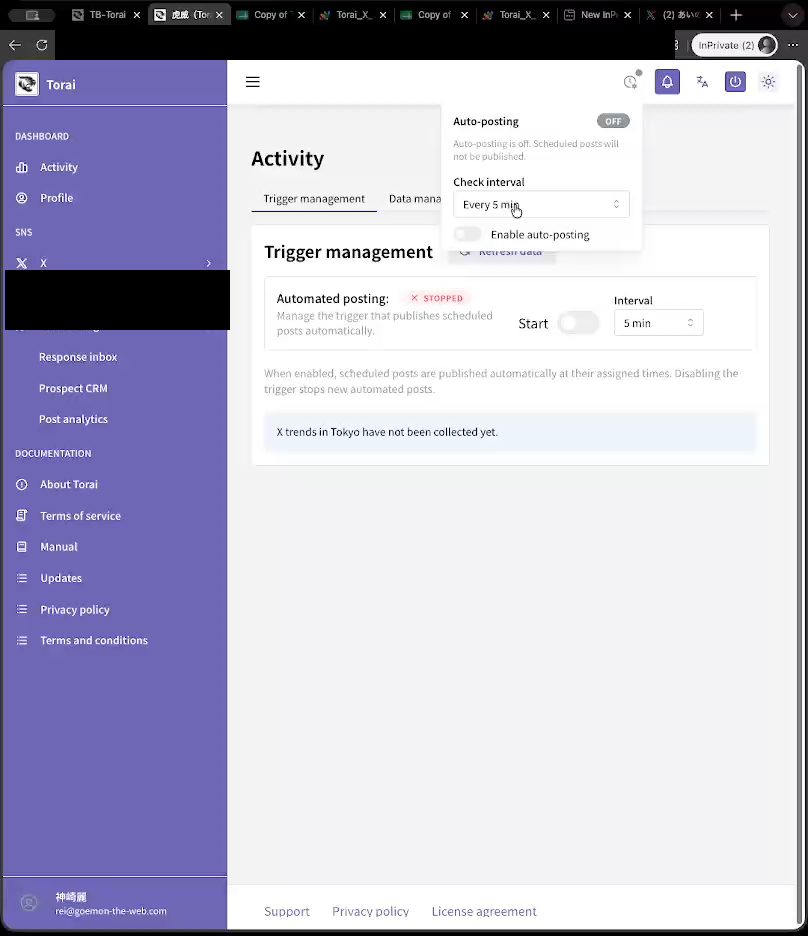
Be sure to switch the trigger to Running. It turns off automatically when there are no more scheduled posts.
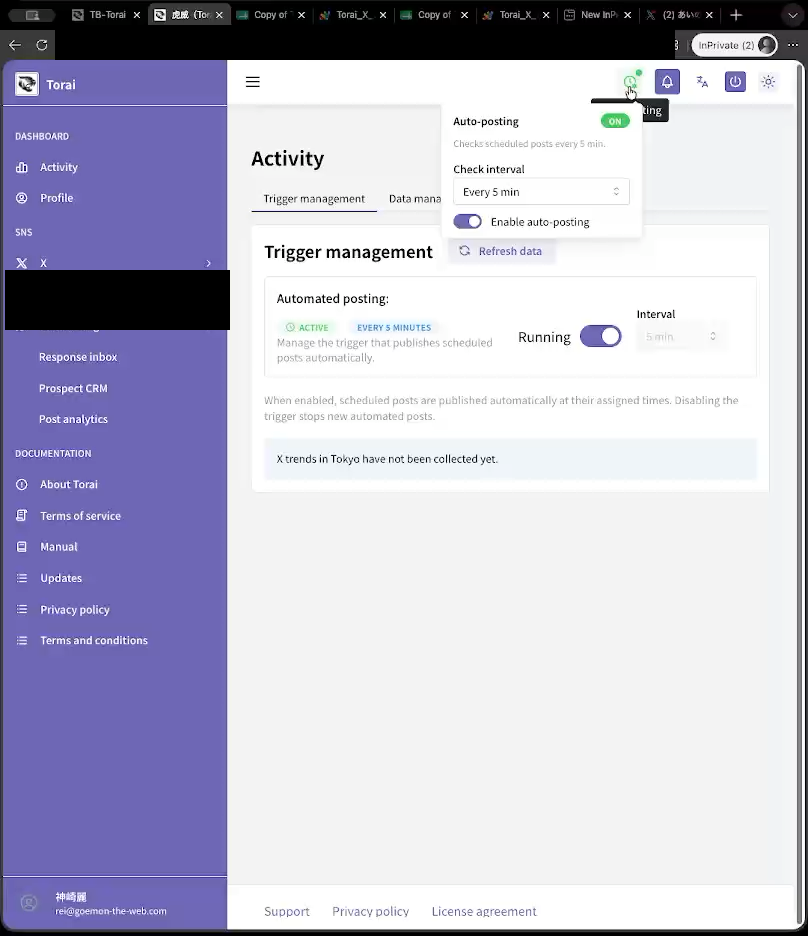
Check pay-per-use charges
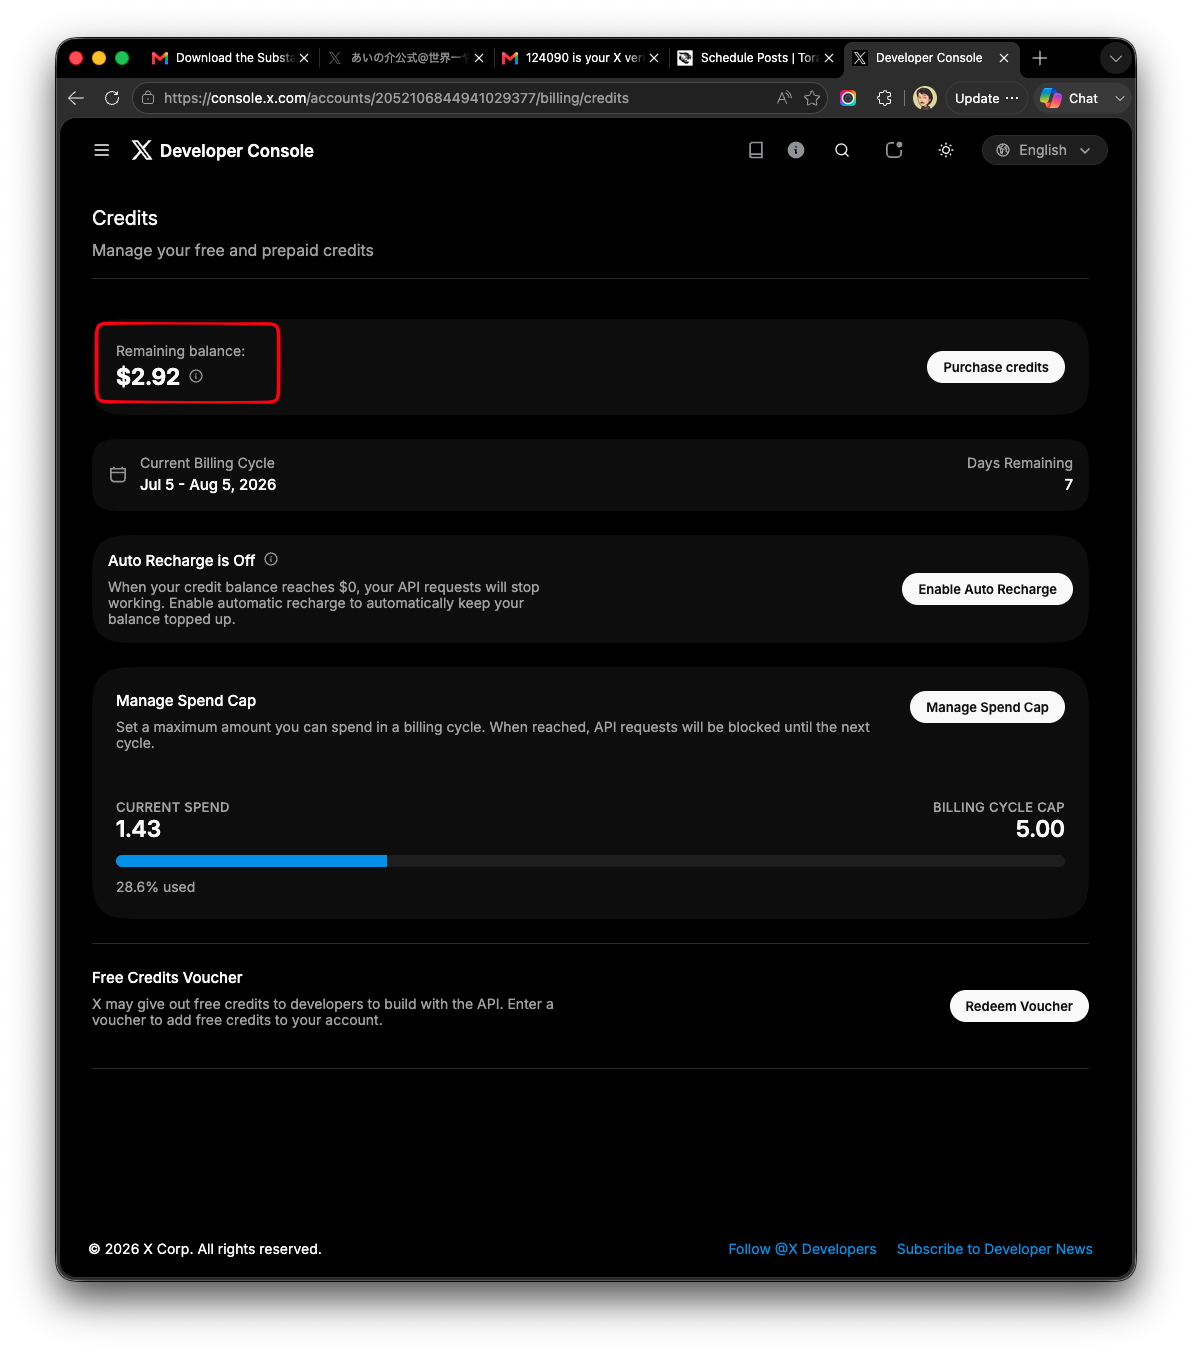
X API charges may depend on usage. Before scheduling a large number of posts, check Usage and your credit balance in the X Developer Console.